GuidesFirmwareSetup
Flashing and Setting Up Makcu - How to Connect Without Errors
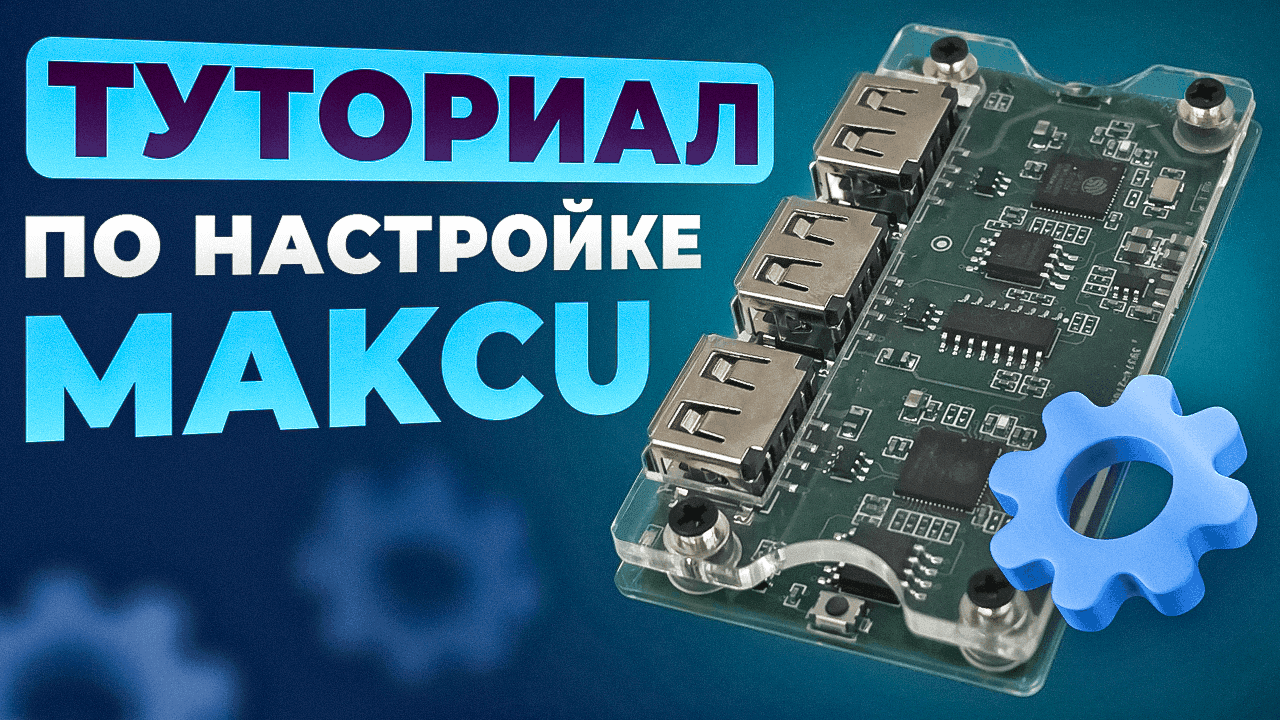

A step-by-step guide for stable, error-free operation of the device
To avoid temporary files on your main PC, run the AIO Tool from a second computer.
While running, the program unpacks files into a temporary folder.
Download the tool from GitHub:
https://github.com/terrafirma2021/MAKCM_v2_files
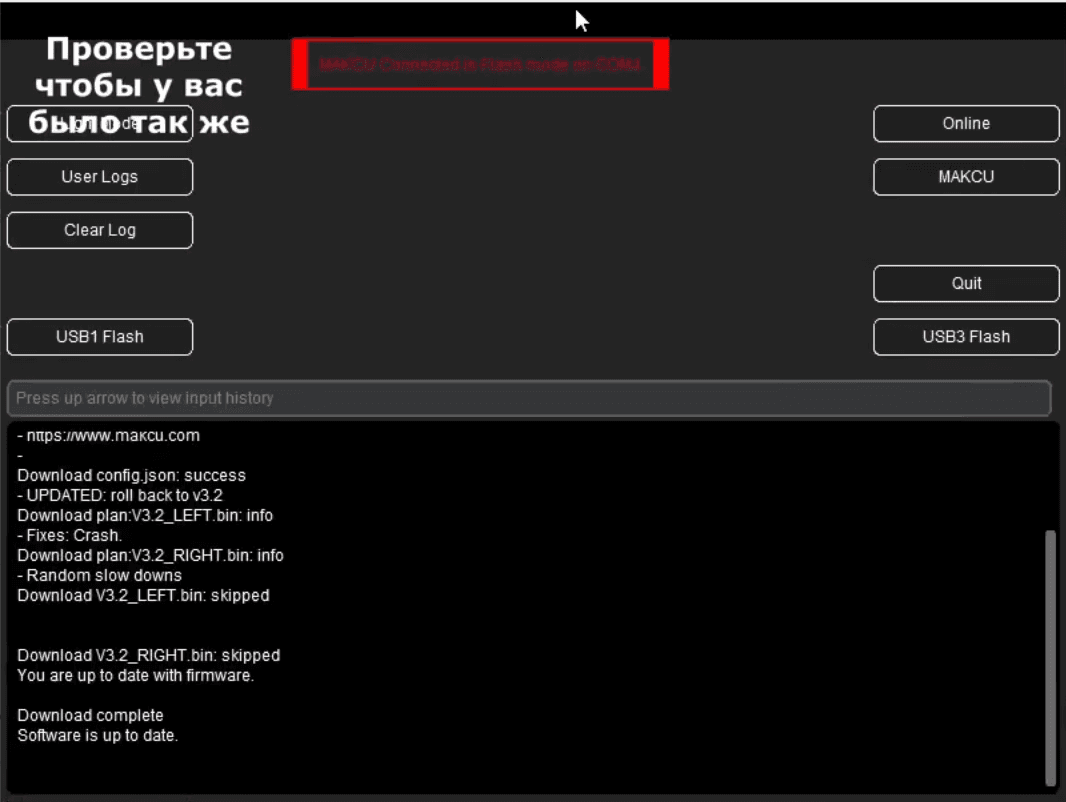
Open the program and wait for the automatic update to finish.
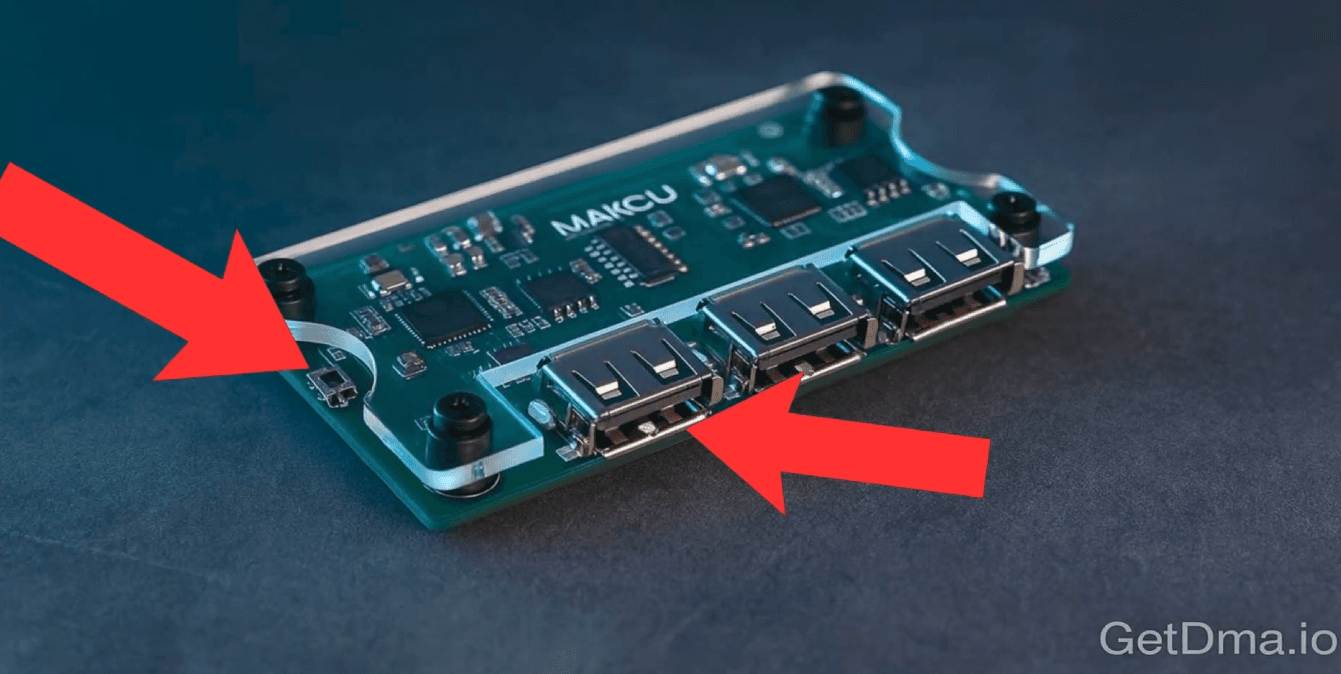
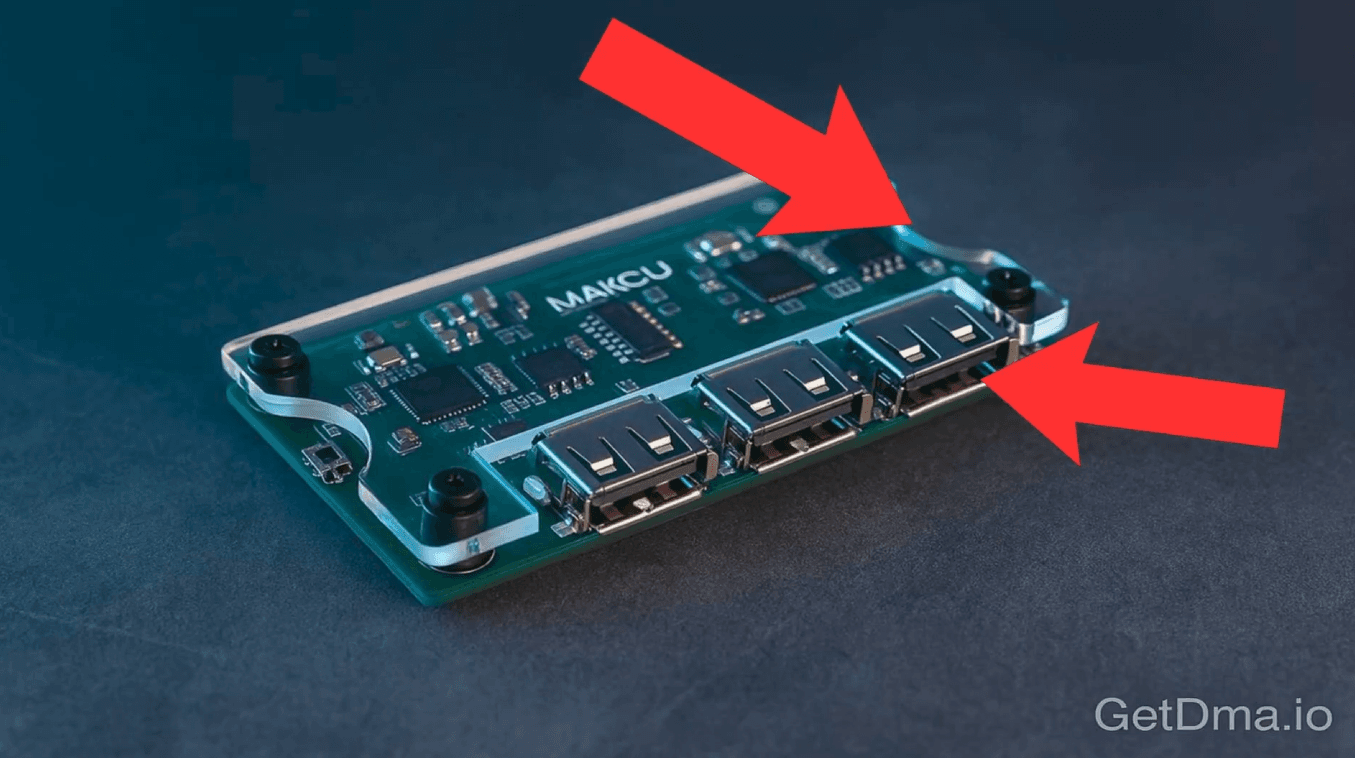
You will need a single USB cable for flashing. Connect it to the computer from which the flashing will be performed.
Take the Makcu out of the getdma box. If it does not come with a box, ignore this step.
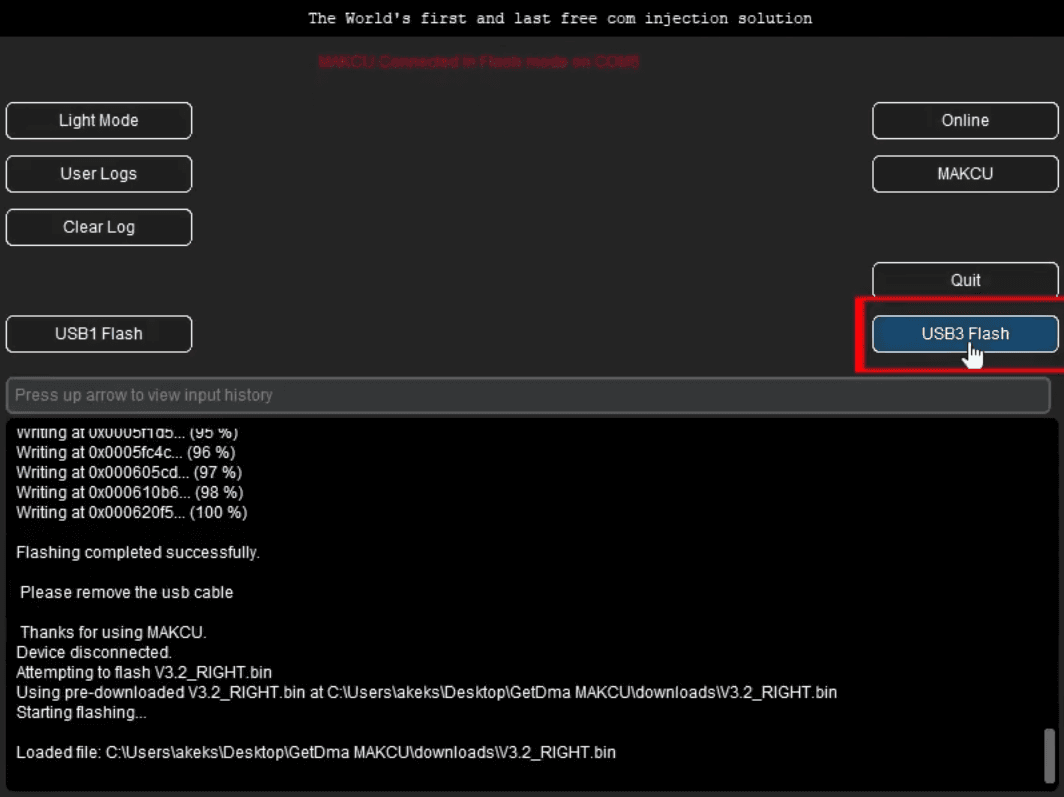
Download the driver from GitHub:
https://github.com/terrafirma2021/MAKCM_v2_files
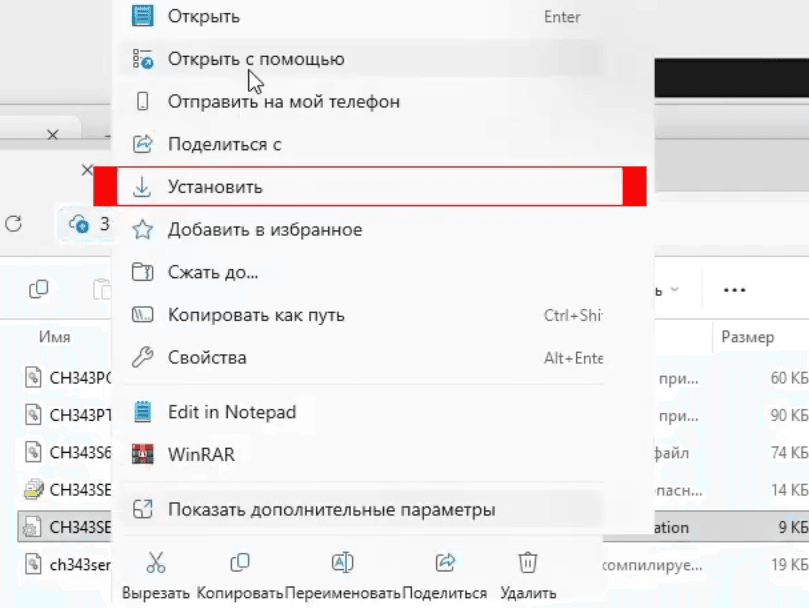
Extract the archive to a convenient folder, then right-click the .CH343SER.INF file and select Install.
Open Device Manager and expand the Ports (COM & LPT) section.
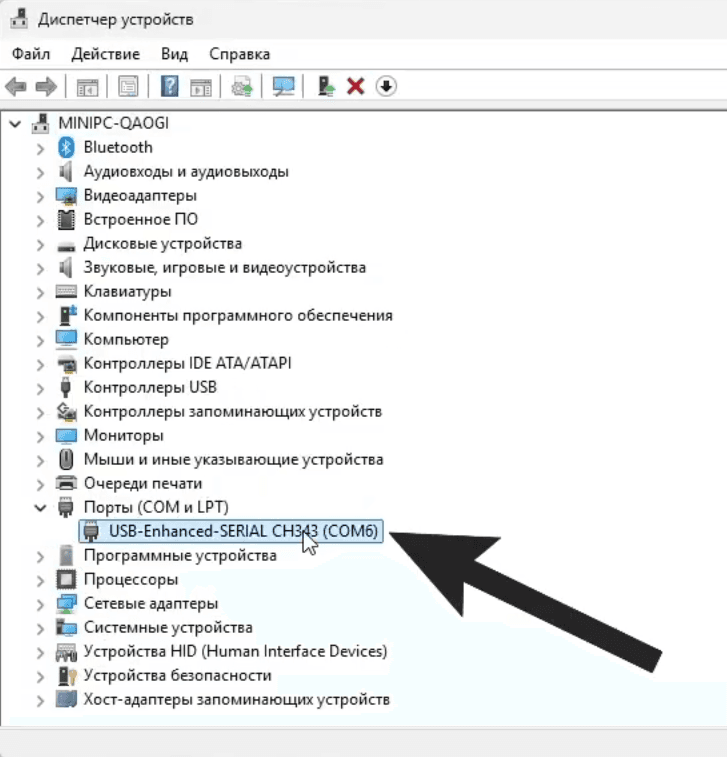
Right-click the COM device → Properties → the Port Settings tab → the Advanced button.
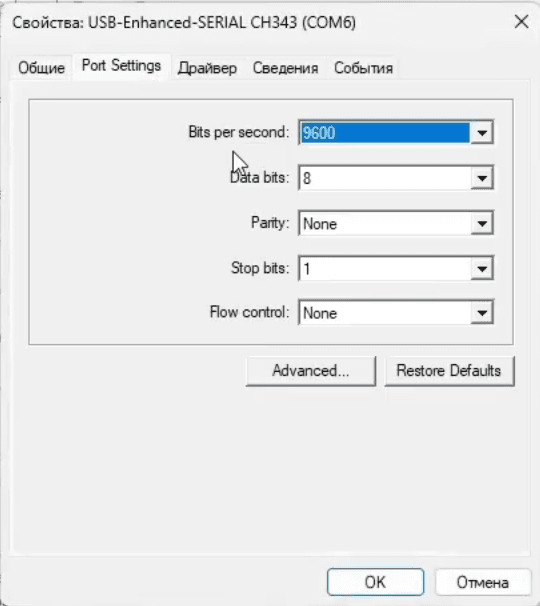
Set the COM port number to a value below 10 and click OK.
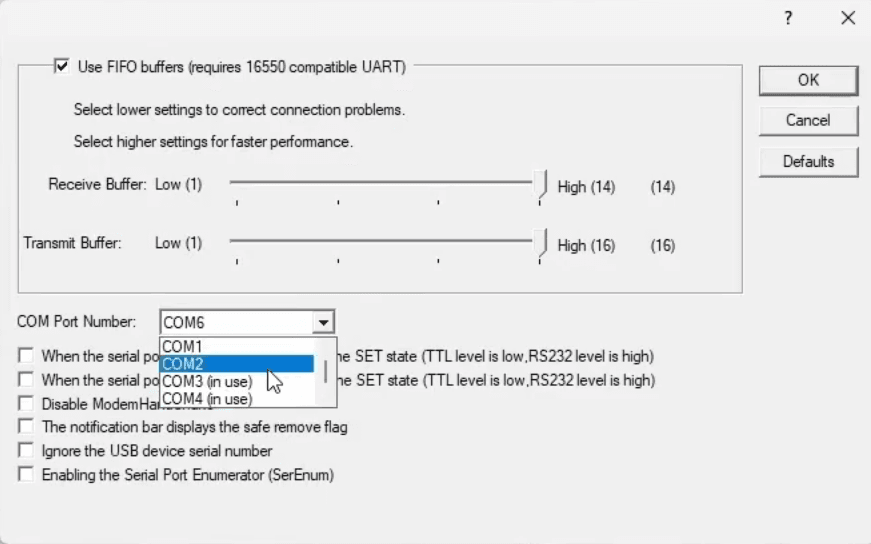
If AIO Tool is already open, close it. Then unplug and reconnect the left cable of the MAKCU.
Step-by-step instructions
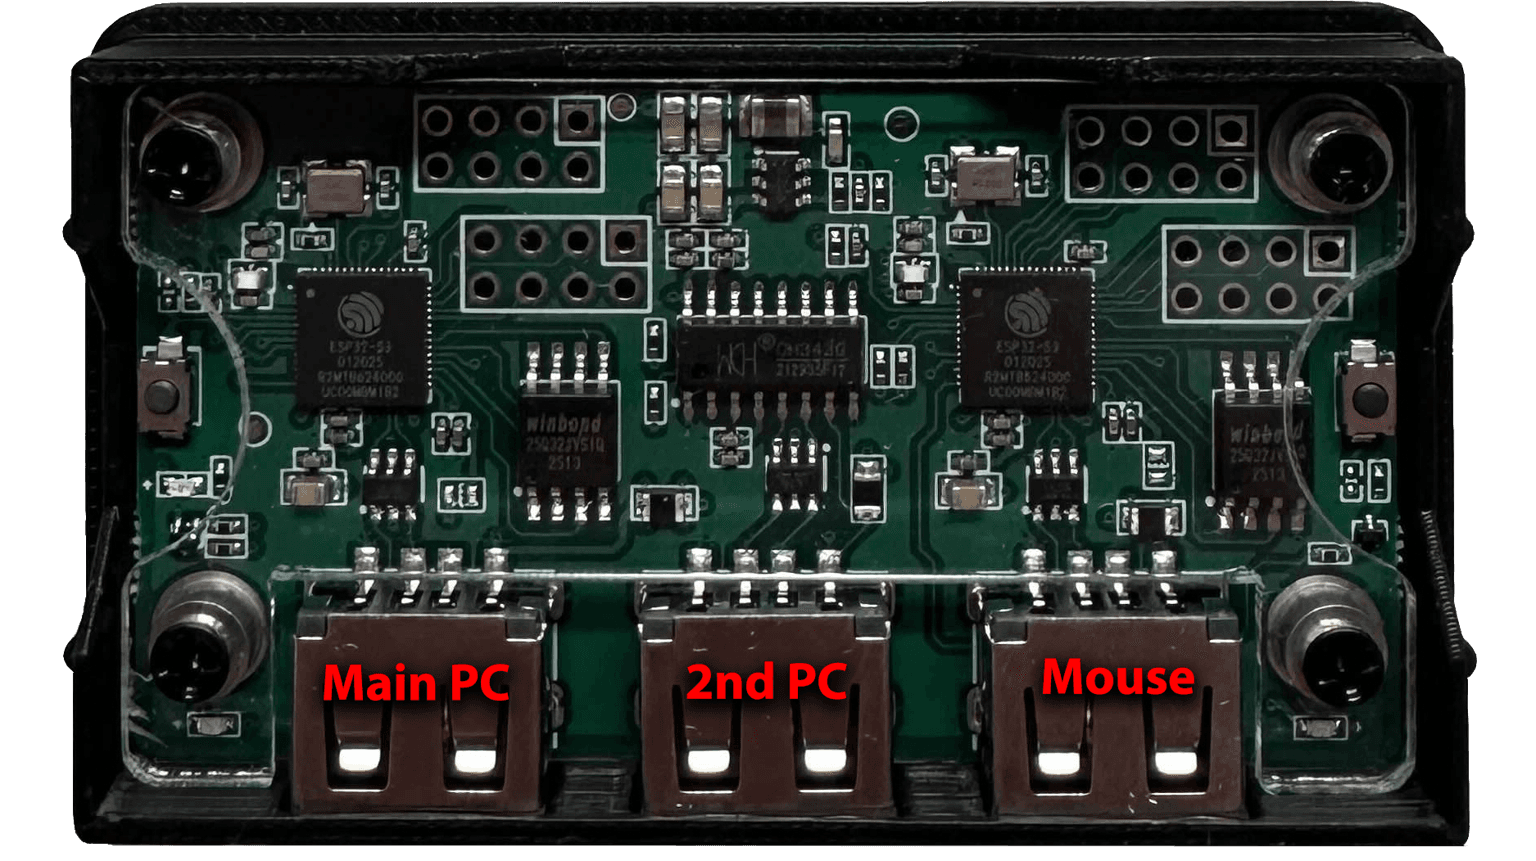
After flashing, MAKCU is not tested with the "TEST" button. Instead, use the command:
km.move(100,100)
This command can be sent through the Makcu terminal.
To change the MAKCU baud rate, press the left button 4 times within 2 seconds. The LED will indicate the current speed:
Pressing again toggles the mode. The selected setting is saved automatically.
⚠️ Settings in Windows Device Manager do not affect the actual speed — MAKCU uses its own configuration.
(Video block: a preview image with a play button that launches the embedded video player.)